Debian Debian 是一个自由的操作系统,由 Debian 计划开发和维护。Debian 是一个自由的 Linux 发行版,添加了数以千计的应用程序以满足用户的需要。来自世界各地的数以千计的志愿者共同为 Debian 操作系统工作,注重自由和开源软件。
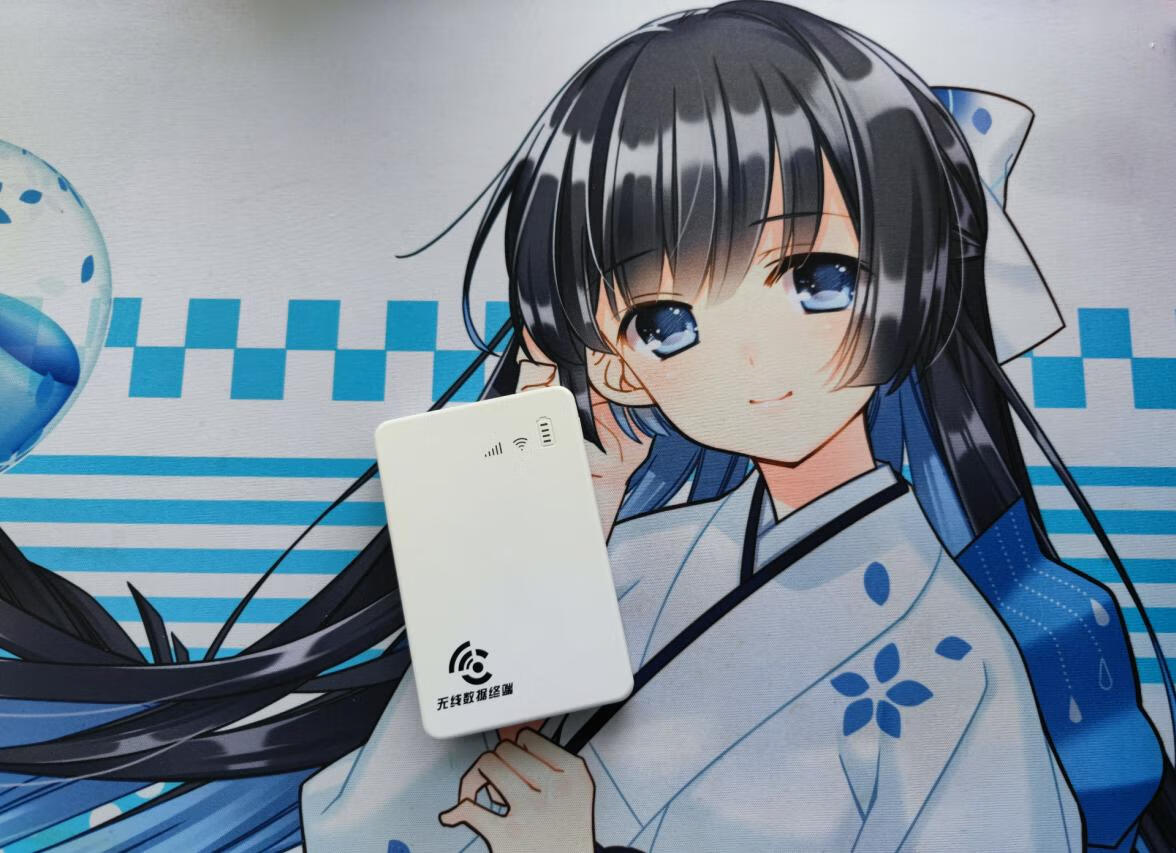
致谢 感谢 @HandsomeHacker 为UFI设备移植的Debian系统
Github地址 :
Ubuntu 系统准备 准备一个Linux操作系统 推荐使用Ubuntu 20.04 LTS版本
你可以使用VM虚拟机 或者 WSL1/WSL2 进行编译 亦或者云服务器
由于软件包很多 建议安装好系统后进行换源操作
请勿使用直接使用Root权限执行命令 以下命令均建立在 $ 权限基础之上
Root权限执行代码均使用sudo提权执行
软件换源 1 2 3 4 5 6 7 8 9 10 11 12 sudo cat >/etc/apt/sources.list<<EOF # 默认注释了源码镜像以提高 apt update 速度,如有需要可自行取消注释 deb https://mirrors.tuna.tsinghua.edu.cn/ubuntu/ focal main restricted universe multiverse # deb-src https://mirrors.tuna.tsinghua.edu.cn/ubuntu/ focal main restricted universe multiverse deb https://mirrors.tuna.tsinghua.edu.cn/ubuntu/ focal-updates main restricted universe multiverse # deb-src https://mirrors.tuna.tsinghua.edu.cn/ubuntu/ focal-updates main restricted universe multiverse deb https://mirrors.tuna.tsinghua.edu.cn/ubuntu/ focal-backports main restricted universe multiverse # deb-src https://mirrors.tuna.tsinghua.edu.cn/ubuntu/ focal-backports main restricted universe multiverse deb https://mirrors.tuna.tsinghua.edu.cn/ubuntu/ focal-security main restricted universe multiverse # deb-src https://mirrors.tuna.tsinghua.edu.cn/ubuntu/ focal-security main restricted universe multiverse EOF
安装依赖 1 sudo apt install binfmt-support qemu-user-static gcc-10-aarch64-linux-gnu kernel-package fakeroot simg2img img2simg mkbootimg bison flex gcc-aarch64-linux-gnu pkg-config libncurses-dev libssl-dev unzip git
克隆源码 1 git clone https://github.com/OpenStick/linux.git --depth=1
使用depth参数限制深度 提高拉取速度
如果拉取失败可以使用
1 git clone https://ghproxy.com/github.com/OpenStick/linux.git --depth=1
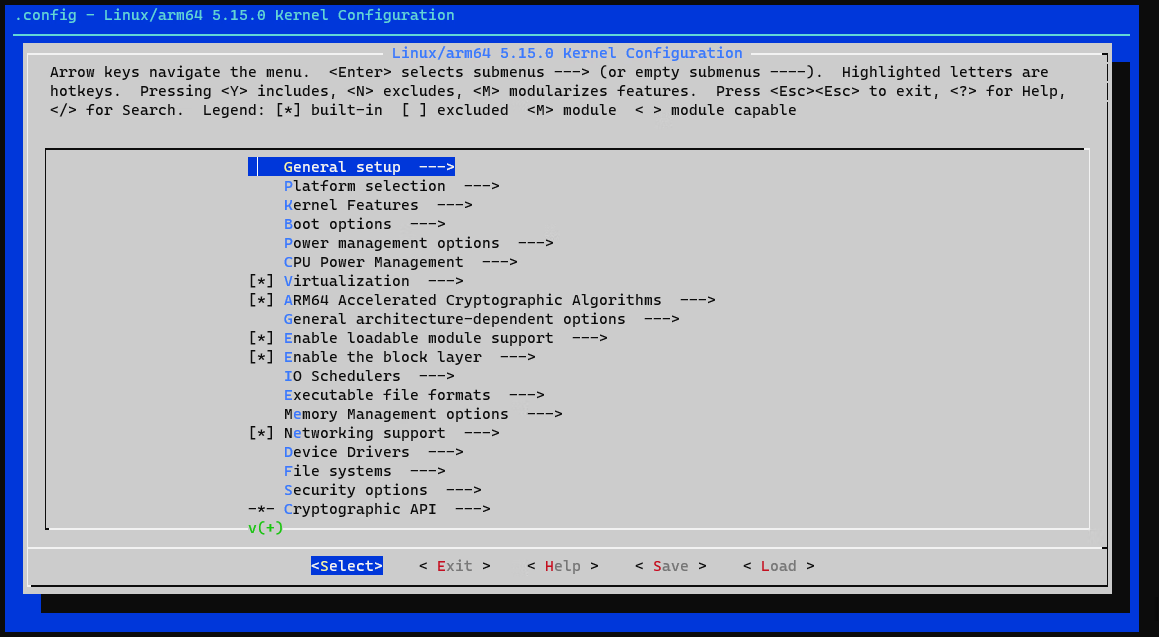
编译配置 1 2 3 4 export CROSS_COMPILE=aarch64-linux-gnu-export ARCH=arm64make msm8916_defconfig make menuconfig
相关配置参数 可自行参照翻译 或Linux内核编译中文指南进行配置
开始编译 软件生成 1 fakeroot make-kpkg --initrd --cross-compile aarch64-linux-gnu- --arch arm64 kernel_image kernel_headers
生成结束后 会在目录上层生成格式为deb的软件包
重要文件 在主目录下创建一个back文件夹
将 arch/arm64/boot/Image.gz 文件复制到刚刚创建的文件夹
将 arch/arm64/boot/dts/qcom/目录对应设备的dtb文件复制到刚刚创建的文件夹
例如需要编译UFI001C设备 就将msm8916-handsome-openstick-ufi001c.dtb 取出放到文件夹
可以使用 ls msm8916-handsome-openstick*.dtb 命令查看dtb名称
下载底包 1 wget https://github.com/OpenStick/OpenStick/releases/download/v1/debian.zip && unzip debian.zip
进入目录后 将 rootfs.img 复制到 back 文件夹
解包挂载 1 2 3 4 5 6 simg2img rootfs.img root.img sudo mount root.img /mnt sudo mount --bind /proc /mnt/proc sudo mount --bind /dev /mnt/dev sudo mount --bind /dev/pts /mnt/dev/pts sudo mount --bind /sys /mnt/sys
将刚刚生成的deb文件 复制到 /mnt 目录
Chroot 进入
执行命令
1 dpkg -l | grep -E "linux-headers|linux-image" |awk '{print $2}' |xargs dpkg -P
卸载原有的Deb软件包 卸载后安装生成的新软件包
系统优化 更换为阿里云软件源
1 2 3 4 5 cat >/etc/apt/sources.list<<EOF deb http://mirrors.ustc.edu.cn/debian/ bullseye main non-free contrib deb http://mirrors.ustc.edu.cn/debian stable-updates main contrib non-free deb http://mirrors.ustc.edu.cn/debian-security/ bullseye-security main EOF
安装常用软件 并配置语言 时区
1 2 3 apt install locales usbutils curl wget fdisk net-tools nano dpkg-reconfigure locales dpkg-reconfigure tzdata
允许Root并配置默认登录
1 2 sed -i '/PermitRootLogin /c PermitRootLogin yes' /etc/ssh/sshd_config sed -i '/PasswordAuthentication /c PasswordAuthentication yes' /etc/ssh/sshd_config
修改Root密码
1 2 3 echo "root:12345678" | chpasswdpasswd root
创建脚本
1 2 3 4 5 6 7 8 9 10 11 12 13 14 15 16 cat >>/etc/systemd/system/rc-local.service<<EOF [Unit] Description=/etc/rc.local ConditionPathExists=/etc/rc.local [Service] Type=forking ExecStart=/etc/rc.local start TimeoutSec=0 StandardOutput=tty RemainAfterExit=yes SysVStartPriority=99 [Install] WantedBy=multi-user.target EOF
1 2 3 4 5 6 7 8 9 10 11 12 13 14 15 cat <<EOF >/etc/rc.local #!/bin/sh -e # # rc.local # # This script is executed at the end of each multiuser runlevel. # Make sure that the script will "exit 0" on success or any other # value on error. # exit 0 EOF systemctl daemon-reload && systemctl enable rc-local history -c
配置参数结束 可以退出chroot环境
命令 exit
取出 /mnt/boot/initrd**.img 放置于先前创建的back文件夹
挂载打包 取消挂载
1 2 3 4 5 sudo umount /mnt/proc sudo umount /mnt/dev/pts sudo umount /mnt/dev sudo umount /mnt/sys sudo umount /mnt
将 root.img 转换为刷入用的 rootfs.img 格式
1 img2simg root.img rootfs.img
打包镜像 进入之前创建的目录 back目录 将Image和dtb合并
1 cat Image.gz msm8916-handsome-openstick-ufi001c.dtb > ufi001c-kernel-dtb
如果你要编译例如SP970等 只需要将dtb替换为上面复制的dtb即可
将提出来的 initrd.img-***文件 改名为initrd.img
1 mv initrd.img-5.15.0-handsomekernel+ initrd.img
生成镜像 1 2 3 4 5 6 7 8 9 10 11 mkbootimg \ --base 0x80000000 \ --kernel_offset 0x00080000 \ --ramdisk_offset 0x02000000 \ --tags_offset 0x01e00000 \ --pagesize 2048 \ --second_offset 0x00f00000 \ --ramdisk initrd.img \ --cmdline "earlycon root=PARTUUID=a7ab80e8-e9d1-e8cd-f157-93f69b1d141e console=ttyMSM0,115200 no_framebuffer=true rw" \ --kernel ufi001c-kernel-dtb \ -o ufi001c-boot.img
结束 现在就有了 rootfs.img 文件和对应的 boot 启动文件
可以开始刷机了
